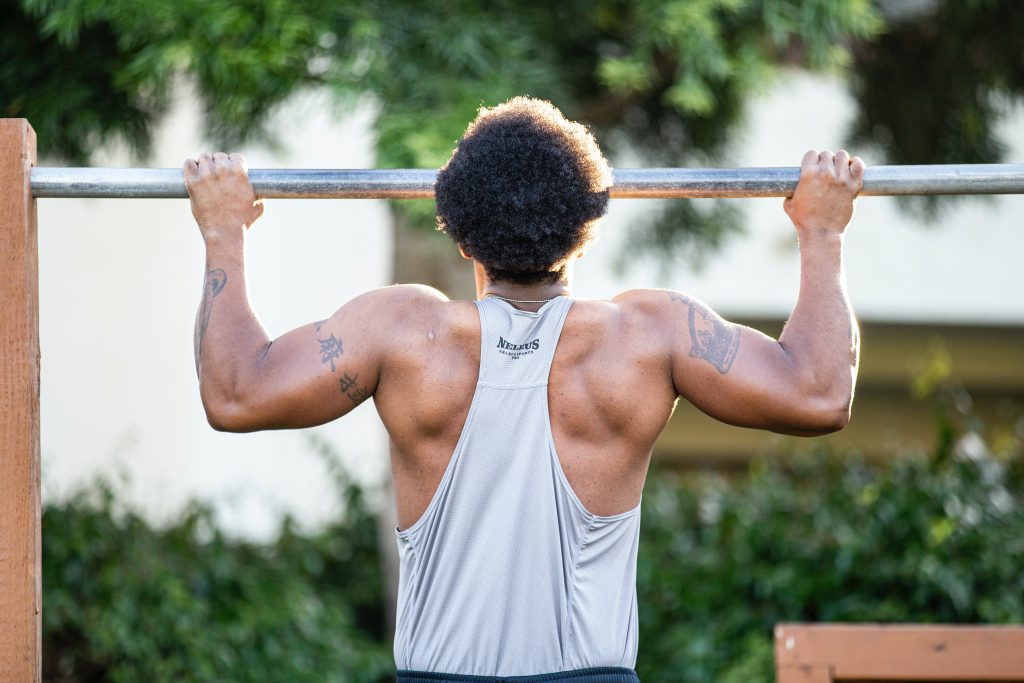
Pull-ups are one of those movements that you see people challenge others to do. Like for example, at those military booths set up for recruitment, there is always a pull-up bar there to see if you are up for the challenge. Pull-ups are truly an exercise that does well at displaying how much upper body strength you have. It basically uses all of the muscles in the upper body to execute just one pull-up, let alone your ability to do them over and over again. This month we challenge you to focus on pull-ups if they are a weak point for you. And for those that can’t do one yet, well this is the month for you to get your first one.
Pull-ups definitely get better the more you practice the actual pull-up movement, but there are other exercises you can do too to help strengthen your pull-up. Pull-ups work all the major muscles in your upper body, including your lats, traps, rhomboids, posterior deltoid, and biceps. To get these muscles stronger we need to focus on these muscles a bit more in our training.
Exercises that help strengthen your pull-ups.
Some of the best exercises to do to get better at pull-ups are:
- bent over rows
- lat pull downs
- Single arm lat pull downs
- seated row
- upright row
- reverse flies
- biceps curls
- TYIs
- banded pull-ups
Let’s talk about this last one for a second. There are many different ways to do banded pull-ups. However, if you are still needing a ton of assistance from the band, then we recommend building up your strength with the other exercises first. Resistance bands are a great way to practice pull-ups and get your body used to the movement but aren’t key in helping to build up the strength for a pull-up.
Pull-up Progression
After you’ve consistently been working on your upper-body strength and getting stronger, you can begin to progress to practicing actual pull-ups.
Step 1: Active Bar Hands
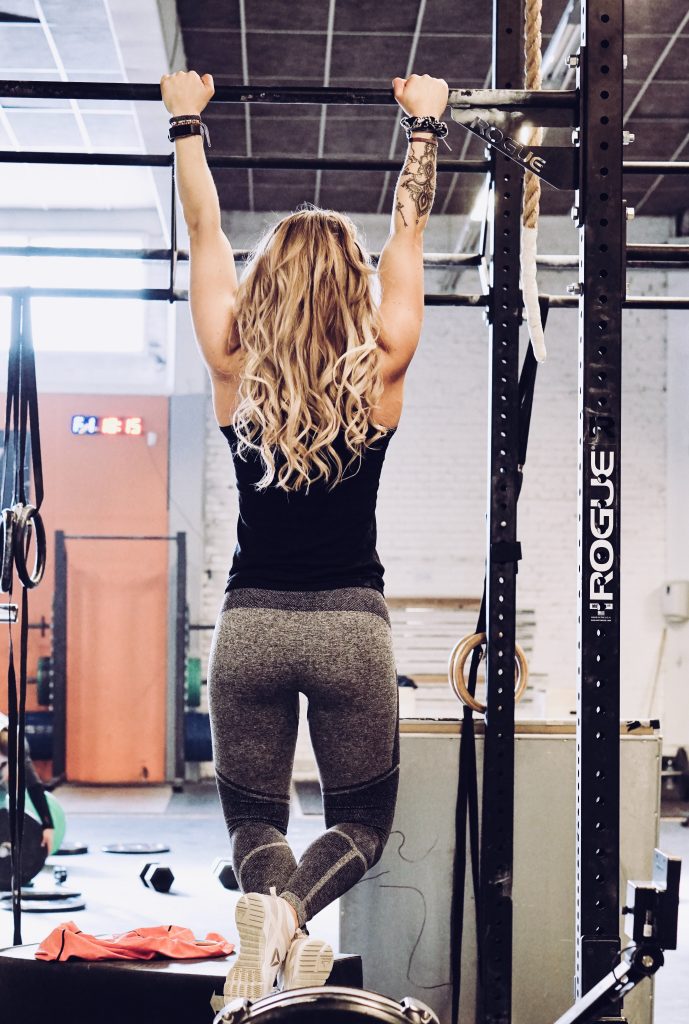
It is a great first step to start hanging out on the bar. What is important though, is that you are in an active hang and not a dead hang. What we mean by this is when you are hanging from the bar you want to make sure you are pulling your shoulders down back in position and not allow them to get pulled out. This can be done by pulling your shoulder blades down your back. Additionally, you want to make sure your core is engaged, legs together and toes pointed slightly in front of you. Try hanging for 30 seconds at a time for three rounds.
Step 2: Hold Yourself at the Top
Once you’re comfortable hanging from the bar, next is time to hang out at the top of the bar. Since you can’t do a pull-up yet, this is best achieved by getting yourself closer to the bar, whether you need a box or bench to do so. Jump up so that your chin is over the bar and you can hold yourself here. Start by holding for 10 seconds. As you practice this exercise, try to push your hold time each time.
Step 3: Slow Decent
As the first two steps become easier for you to do, we are doing to work on slowing coming from the top to the active hang position. Get yourself to your top position (however you did this in Step 2), but now this time you are going to slowly lower yourself to the active hang. Actual seconds don’t matter here, but more or less the idea is to lower yourself literally as slow as you can without completely giving up towards the bottom. Once you’ve nailed this, you should be on your to pull-ups with a resistance band or maybe the full shebang all on your own.
Now you might be asking, well how long do I have to do this before I get my pull-up. Just like with most fitness routine, there isn’t a one size fits all answer. What we do know is that if you keep this up, you will definitely see a huge improvement in four weeks.
Proper training also requires proper recovery. Recover with our BCAAs, RESCUE. Think of RESCUE Vegan BCAA as your favorite superhero sidekick. Take RESCUE before, during or after burning some calories to help repair your muscles and rehydrate. With a light and refreshing taste, RESCUE is there to lift you up for your next big move. Work out hard and recover effortlessly.
